To start using LeadsNavi effectively, make sure to follow these key steps during the registration and setup process. These steps will ensure that your account is properly set up, and LeadsNavi can track and analyze your website visitors to bring in the best leads.

Fill in Your Email Address Correct
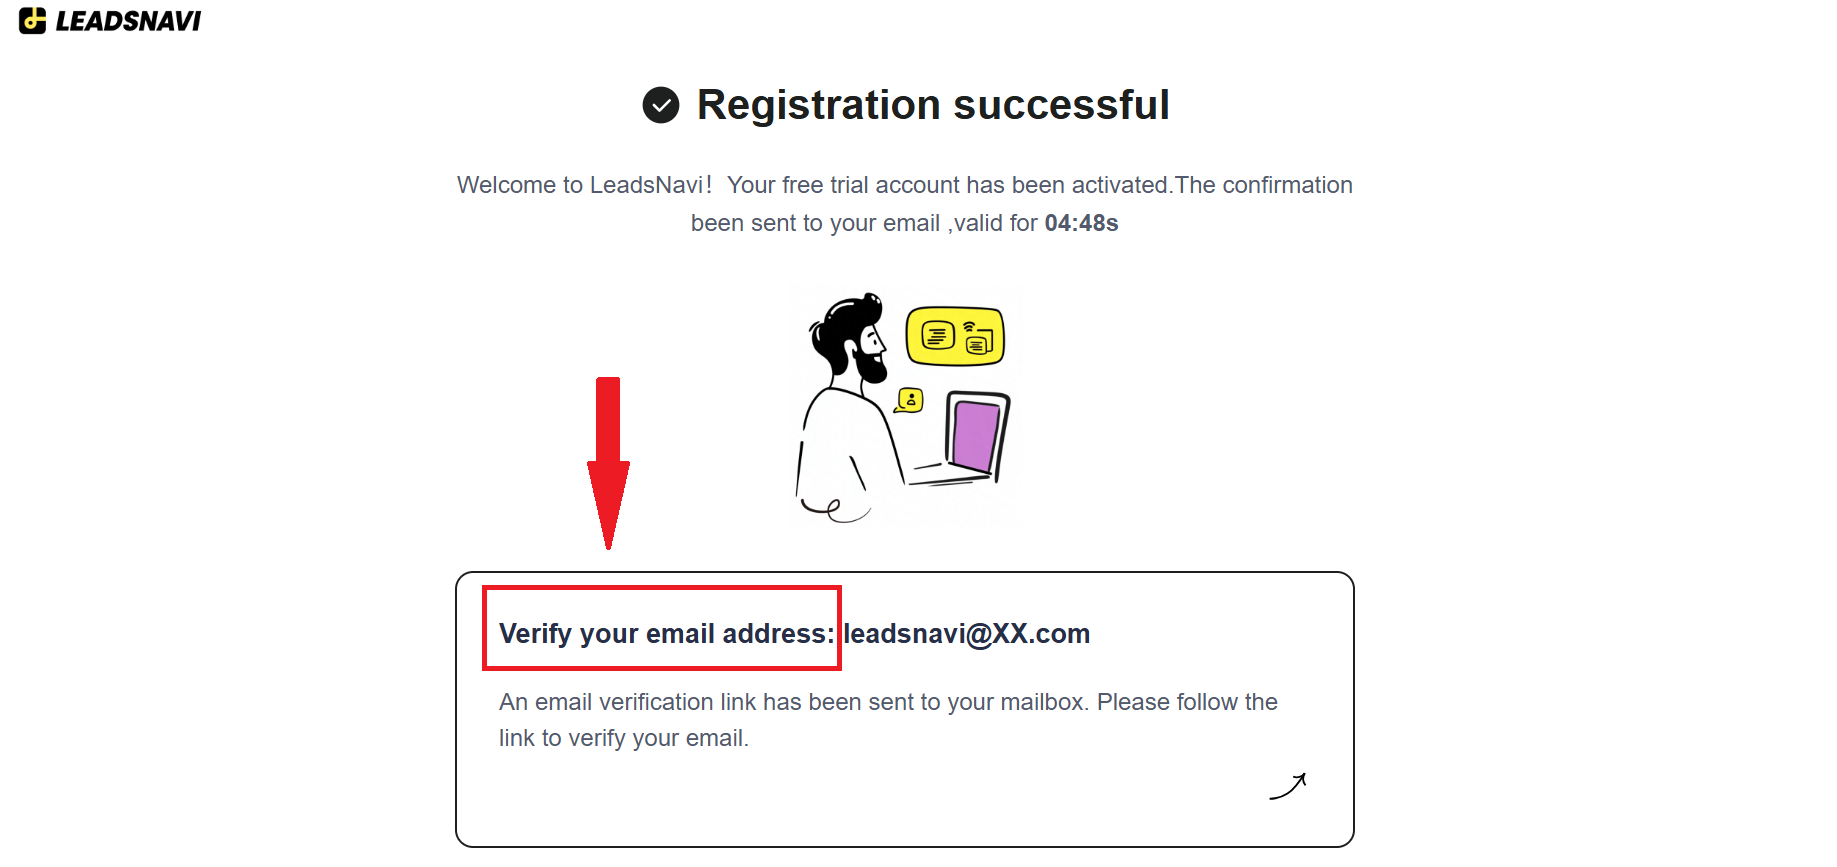
The first step in the registration process is to enter your email address correctly. This is important because we will send you a verification email to confirm your account. Double-check your email address to avoid any errors, ensuring that the email reaches you without any issues.
Check Your Inbox and Verify Your Email Promptly
Once you’ve entered your email address, check your inbox for a verification email from LeadsNavi. This email will contain a verification link that you must click to complete your registration. Keep in mind that verification links can expire after a short period, so it’s crucial to verify your email as soon as you receive it to avoid any delays in accessing your account.
Integrate LeadsNavi’s Tracker with Your Website
To start collecting and analyzing data from your website visitors, you’ll need to integrate LeadsNavi’s tracker with your site. We provide two integration methods to make this process simple and convenient.
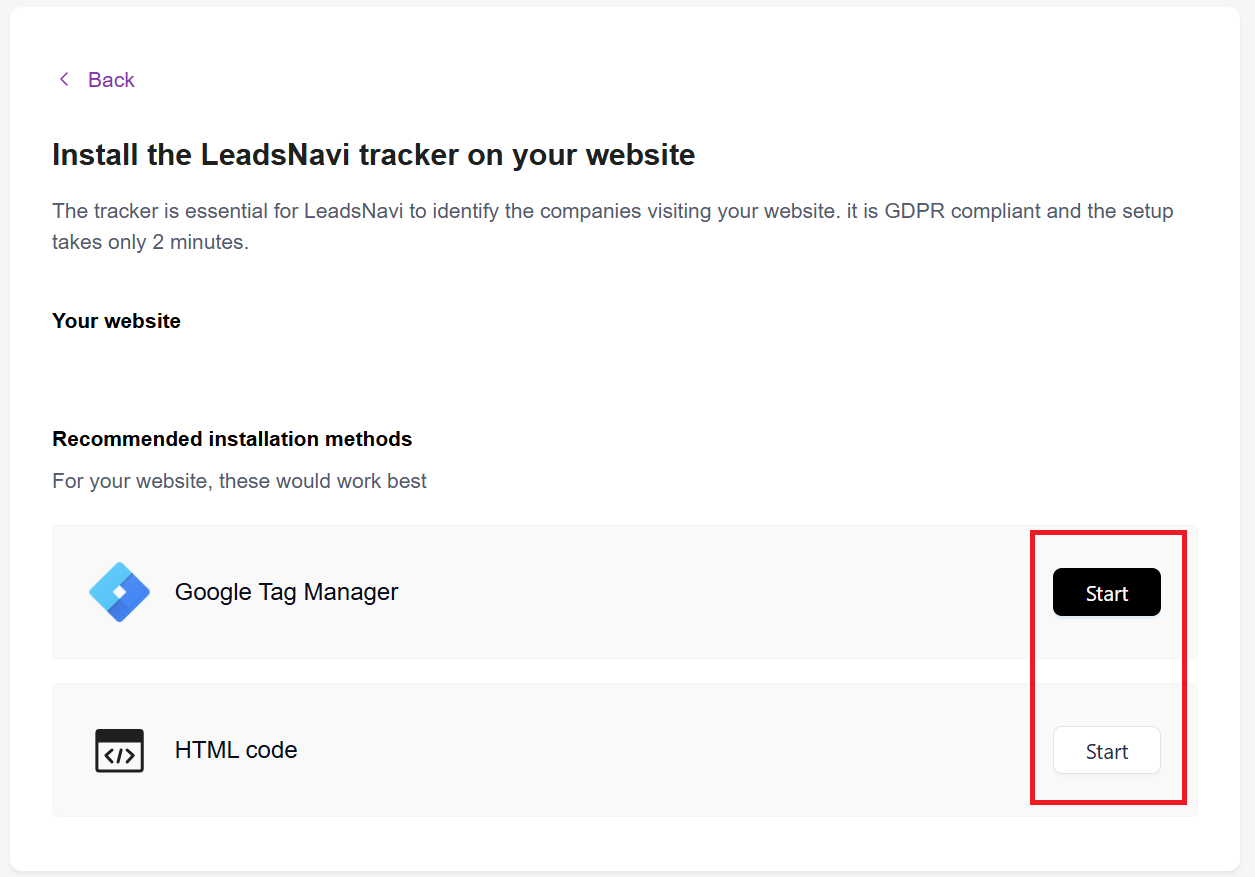
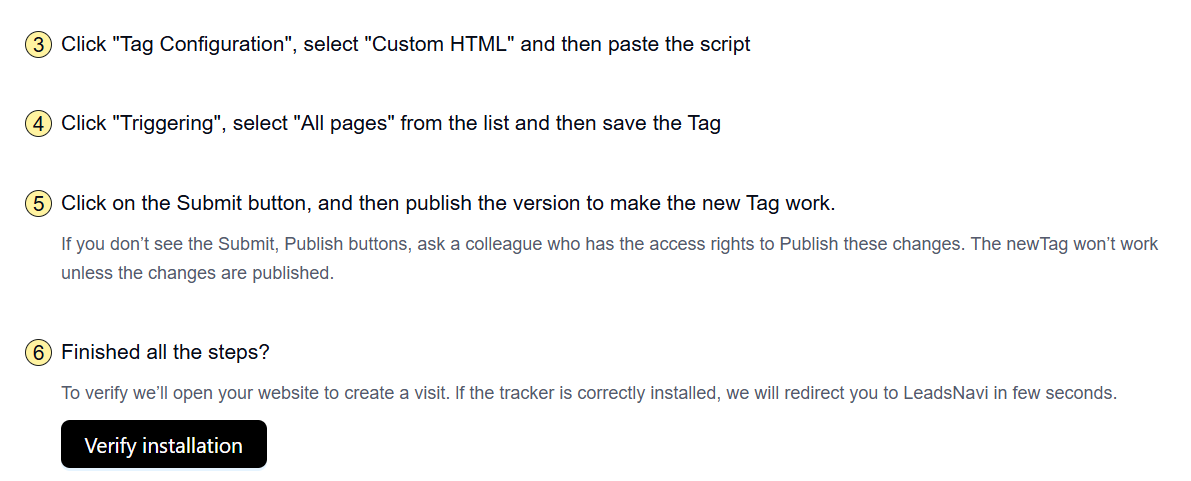
For Google Tag Manager (GTM) Users:
If you’re using Google Tag Manager to manage your website’s tags, you can easily integrate LeadsNavi by following our step-by-step guide. You can also find a much more detailed guide here: https://www.leadsnavi.com/detail?guid=db4deca1a298
For Websites Without Google Tag Manager:
If you’re not using GTM or if your website is self-built, Wix, or WordPress, we provide the option to continue with HTML code. For self-built websites, there are two steps to go.
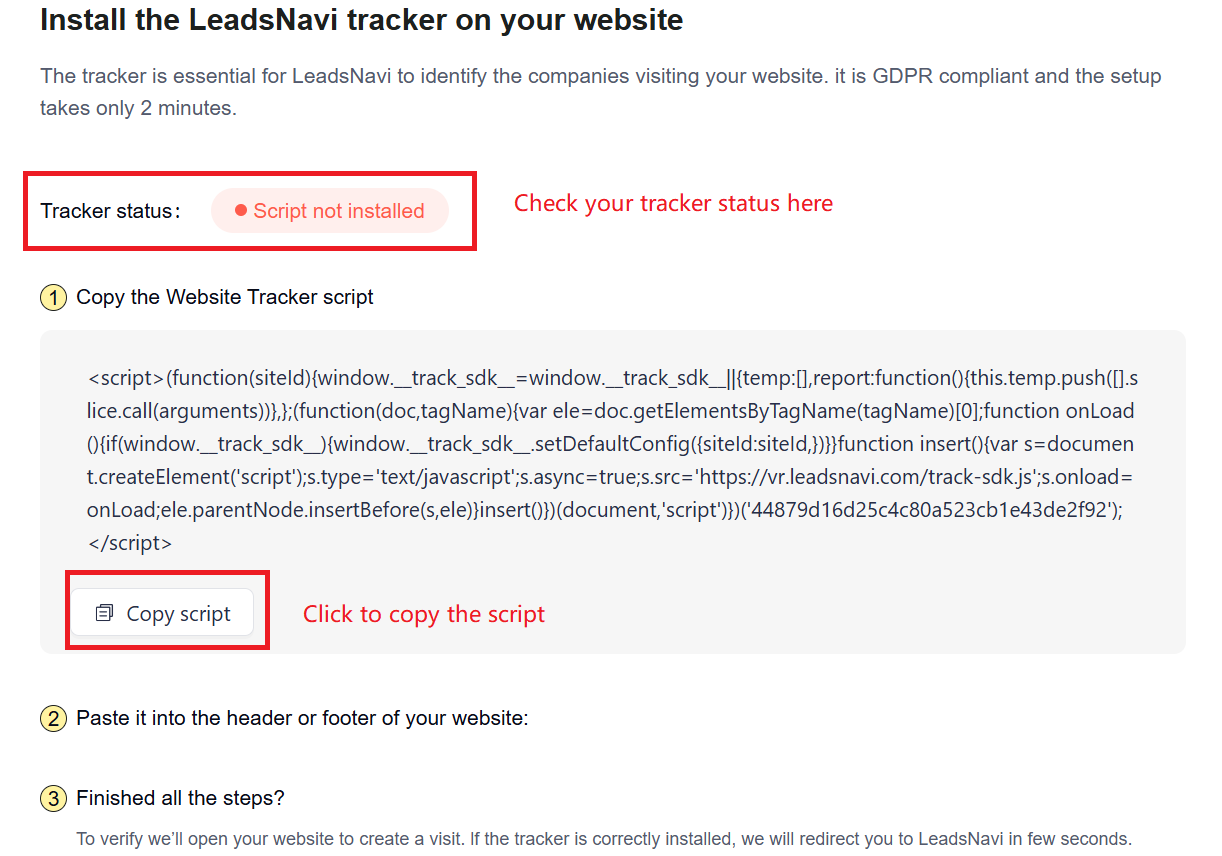
1. Copy the Script
The code snippet provided (within <script>...</script>) is a JavaScript code that will track visitor activity on your website. To activate this, you need to copy this entire script.
2. Paste into Header or Footer
You should insert this code into the HTML of your website, specifically within the <head> or <body> sections of your site’s code. Adding it there will make the tracking code load on every page, which is essential for accurate visitor tracking.
For Wix and WordPress, please follow the respective platform guides to add the code to your site. You can find detailed guides here!
https://www.leadsnavi.com/detail?guid=966b13e60aaa-for Wix
https://www.leadsnavi.com/detail?guid=fbca686badc8-for WordPress.
Our instructions are clear and easy to follow, so no matter what platform you use, the integration process should be quick and seamless.
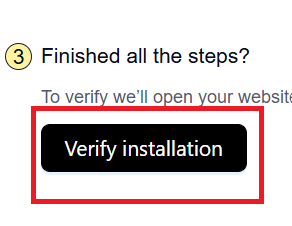
Common Issues When Failing the “Verify Installation” Stage
Sometimes, during the “verify installation” stage, users may encounter issues that prevent successful integration. If you’ve followed the setup instructions but are still facing difficulties, here are some common problems to check for:
Incorrect Placement of Code
The tracking code must be placed in the correct section of your website’s HTML — either in the <head> or <body> section. If you’re using a CMS like WordPress, check the header/footer settings, or use a plugin for custom scripts.
What to Check: Ensure the code is in the correct location to ensure it loads on all pages.
Script Errors or Modifications
Even small changes in the script code, such as missing characters or accidental edits during copying, can cause the integration to fail.
What to Check: Compare the code you’ve copied with the original script to ensure it hasn’t been altered.
Caching Issues
Caching systems can delay the appearance of updates on your site, including the new tracking script. This may prevent LeadsNavi from verifying the installation immediately.
What to Check: Clear your website cache and any CDN cache to ensure the new script is recognized.
Browser Extensions
Some browser extensions, like ad blockers, can block or interfere with the script. These can be particularly troublesome during testing.
What to Check: Disable browser extensions, especially ad blockers, while verifying your integration.
HTTPS Issues
For websites using HTTPS, ensure your SSL certificate is active. If your site doesn’t support HTTPS properly, the verification process may fail due to the script requiring a secure connection.
What to Check: Make sure your SSL certificate is valid if your website is configured for HTTPS.
Integrating LeadsNavi with your website is straightforward, but keeping these important points and common troubleshooting issues in mind will help you avoid potential roadblocks. With proper setup, LeadsNavi can deliver the accurate visitor insights you need to drive better lead generation. If you run into any issues during installation, these tips should help you resolve them quickly.