LeadsNavi is a powerful lead management platform that enables businesses to effortlessly capture, track, and convert potential customers. By seamlessly integrating with website builders like Wix, SquareSpace, WordPress, and Google Tag Manager, it simplifies the lead generation process. With its intuitive interface and robust tools, LeadsNavi enhances marketing performance and accelerates business growth.
Here’s how you can quickly set up LeadsNavi on your WordPress site.
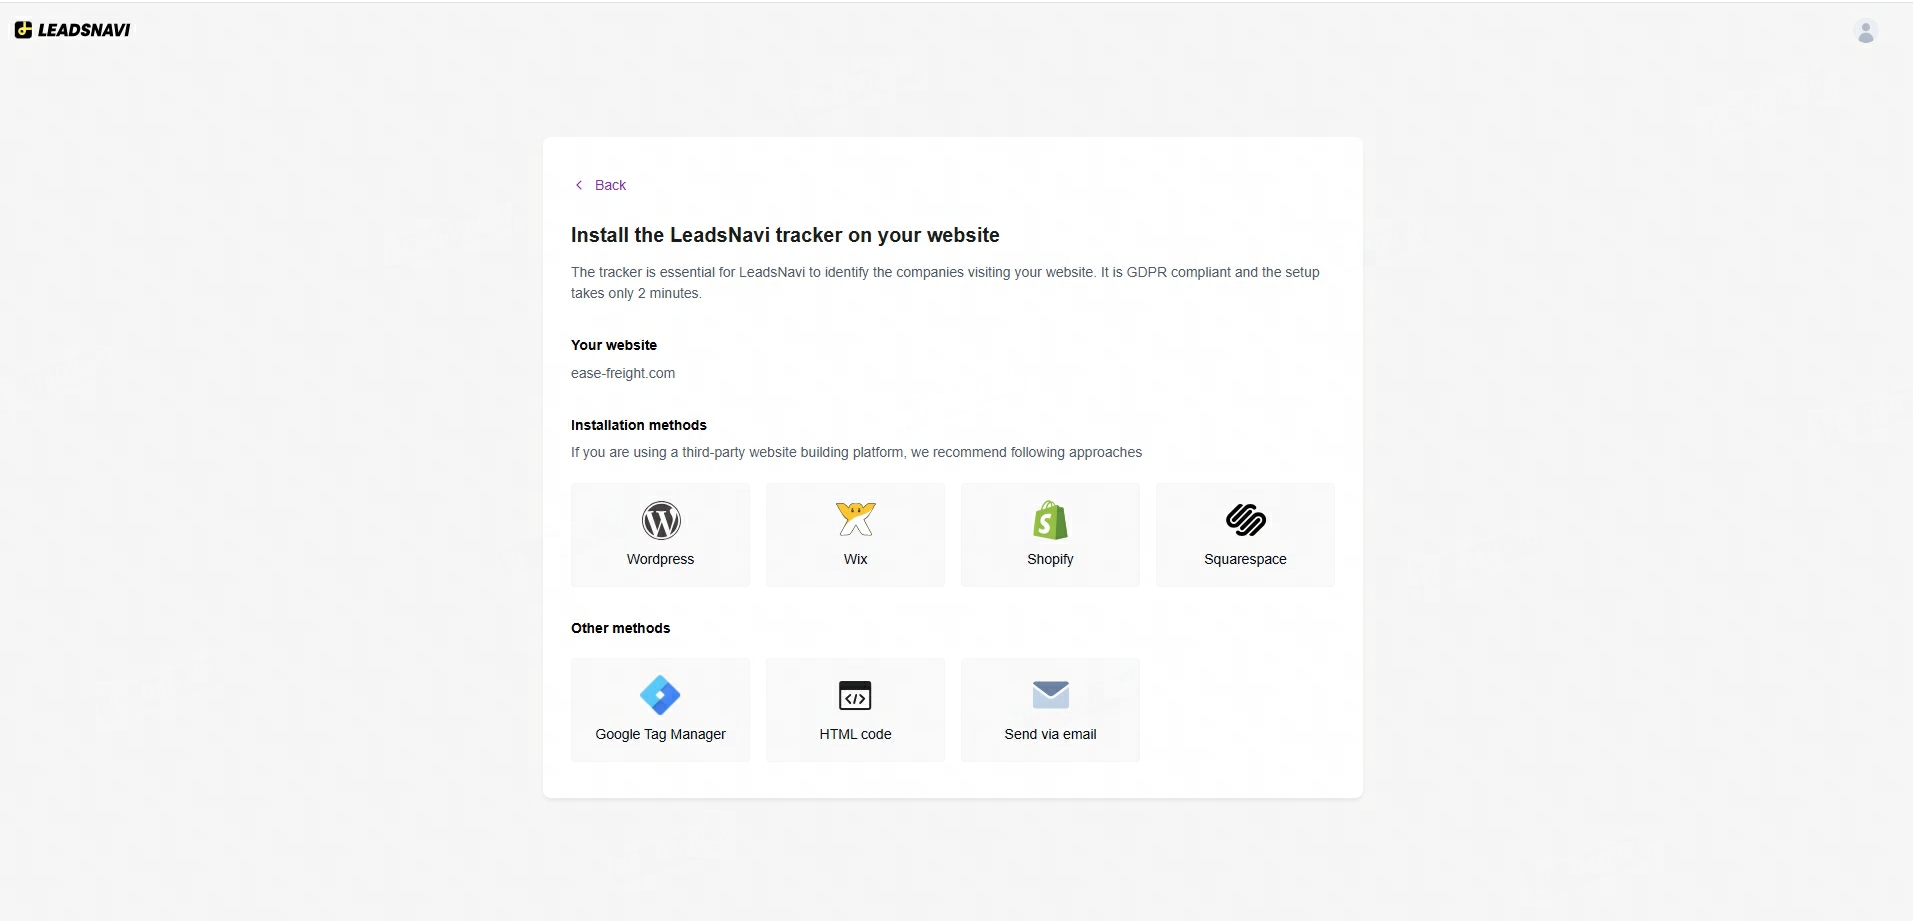
Step 1: Get Tracker Script
1. Click "Wordpress".
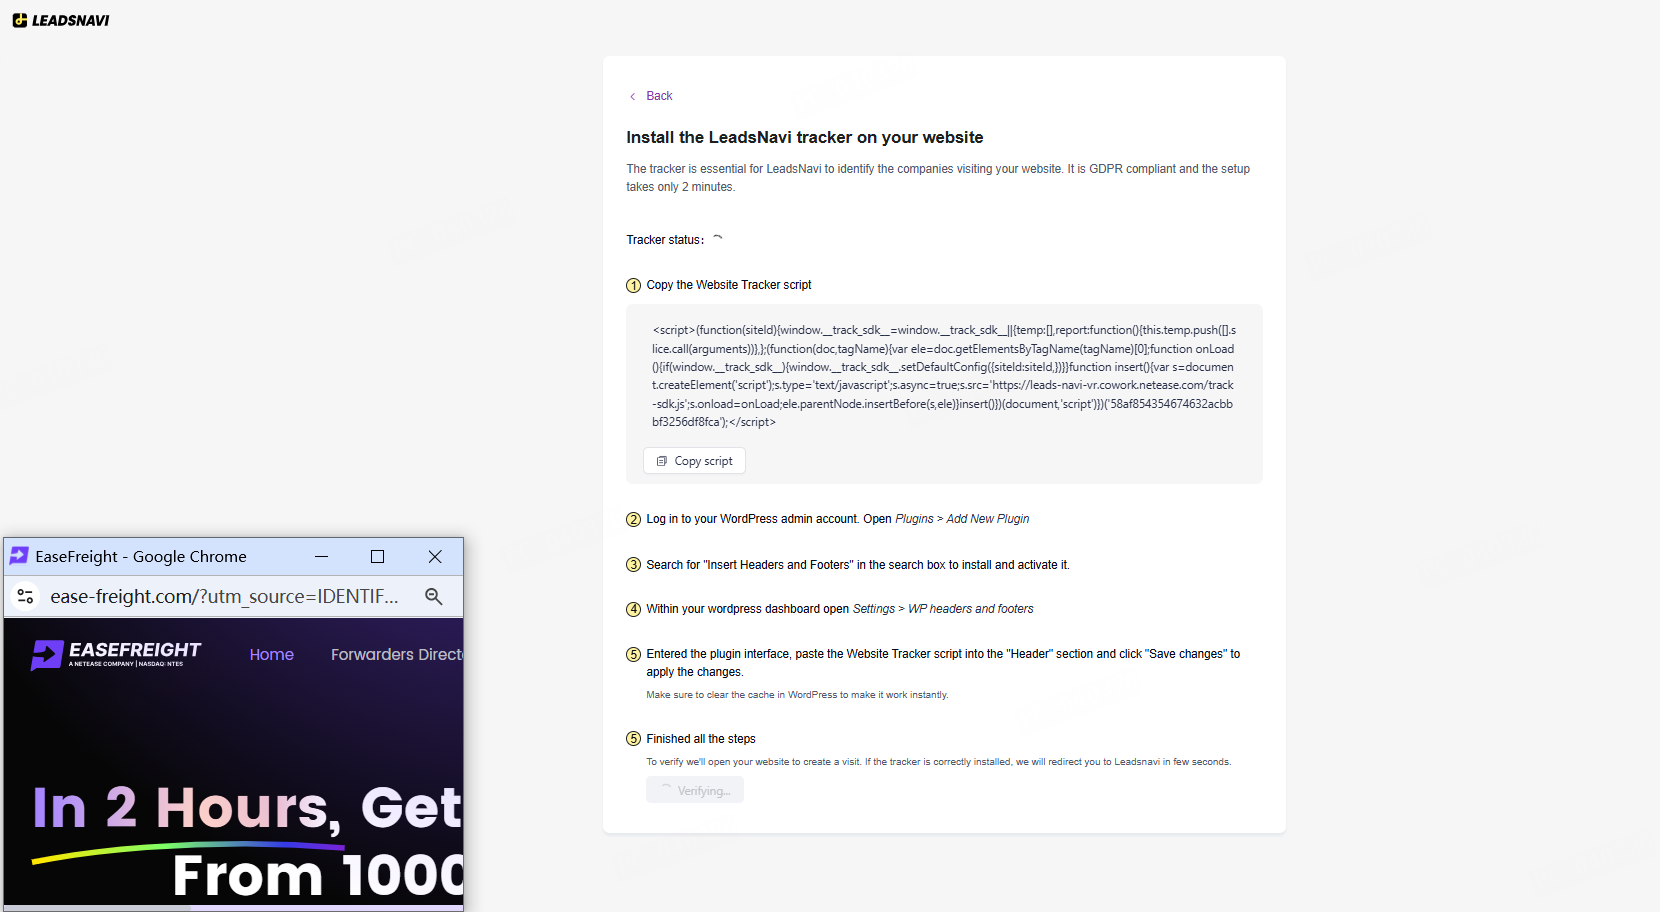
2. Click “Copy Script” to copy the code, then go to your WordPress dashboard and paste it into the header or footer of your website. 


Step 2: Install LeadsNavi on Your Website
1. In your WordPress dashboard, navigate to the left-hand menu and select “Plugins' > "Add New Plugin”. In the search bar, type “Insert Headers and Footers” or “Header and Footer Scripts”. Once you find the plugin, click “Install” and then “Activate".
2. In the WordPress backend, locate "Settings" in the left-hand navigation menu, then click on "Insert Headers and Footers" or the name of the installed plugin. 
3. Once you've entered the plugin interface, paste the code provided by LeadsNavi into the "Header" section and click "Save changes" to apply the changes.

4. Return to the LeadsNavi onboarding page and click the “Verify Installation” button to complete the installation verification. If everything is set up correctly, this should only take a few seconds.

Congratulations! You have successfully integrated LeadsNavi into your website. Please check our dashboard later to see the companies visiting your website.