LeadsNavi is a powerful lead management platform that enables businesses to effortlessly capture, track, and convert potential customers. By seamlessly integrating with website builders like Wix, SquareSpace, and Google Tag Manager, it simplifies the lead generation process. With its intuitive interface and robust tools, LeadsNavi enhances marketing performance and accelerates business growth.
Back
Setting Up LeadsNavi with Google Tag Manager
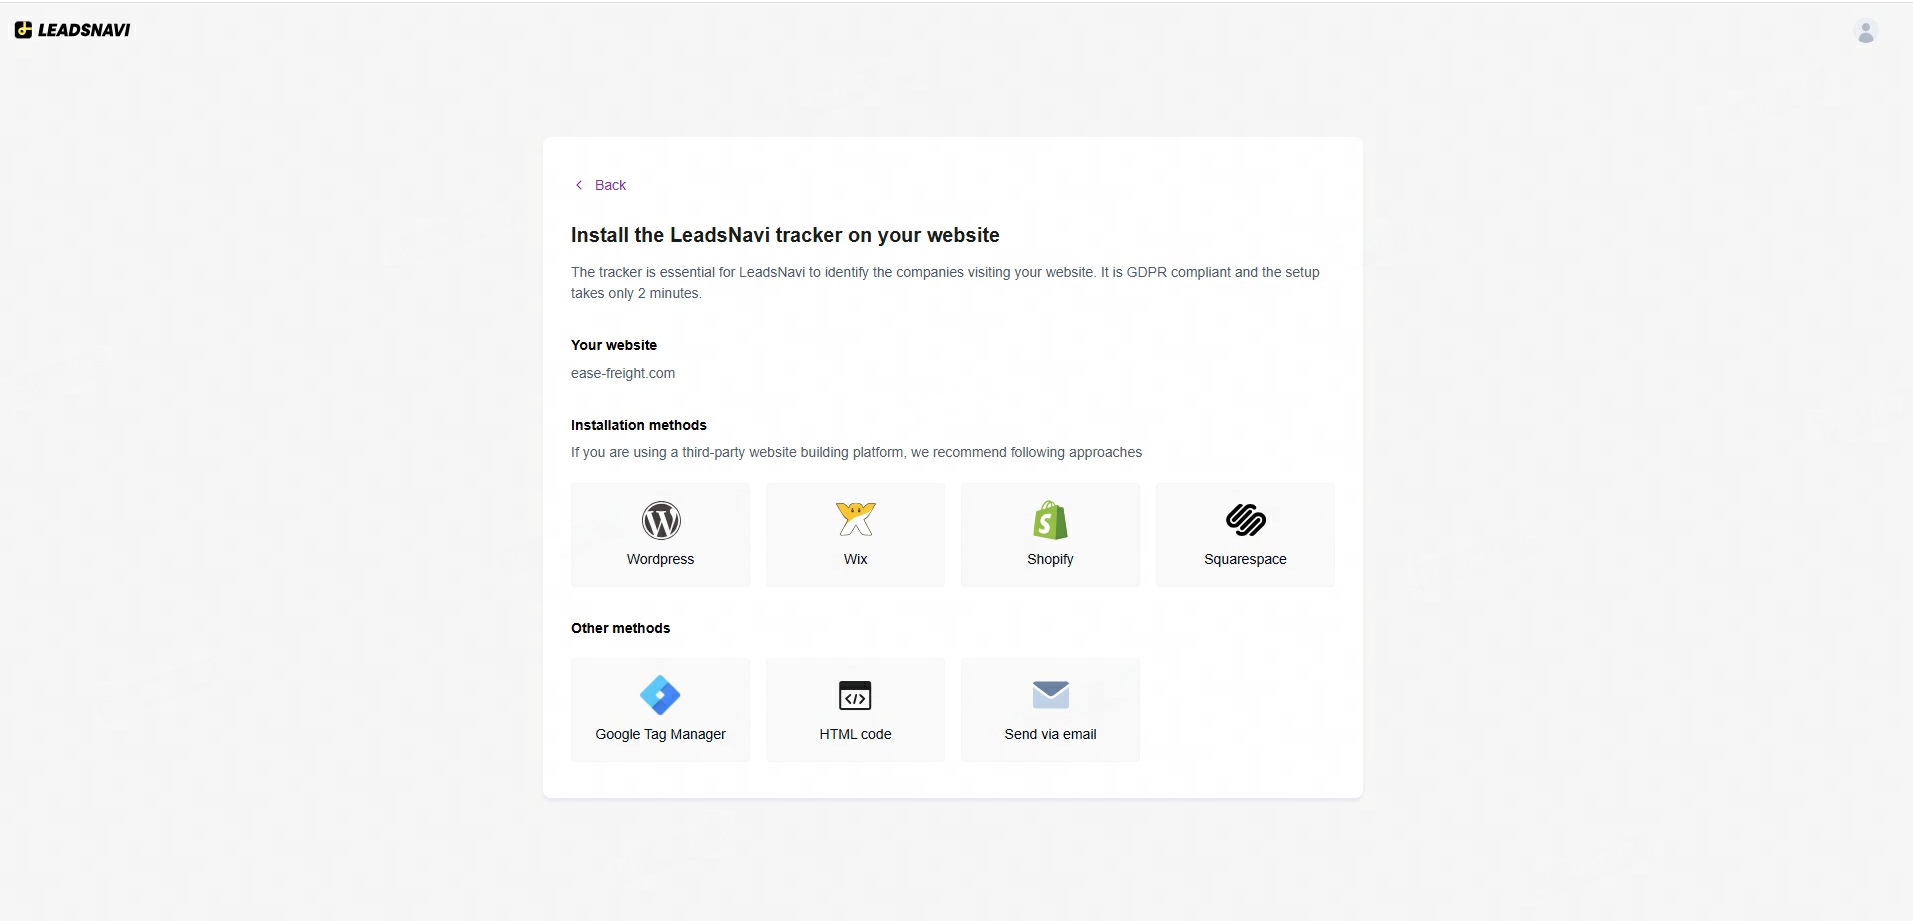
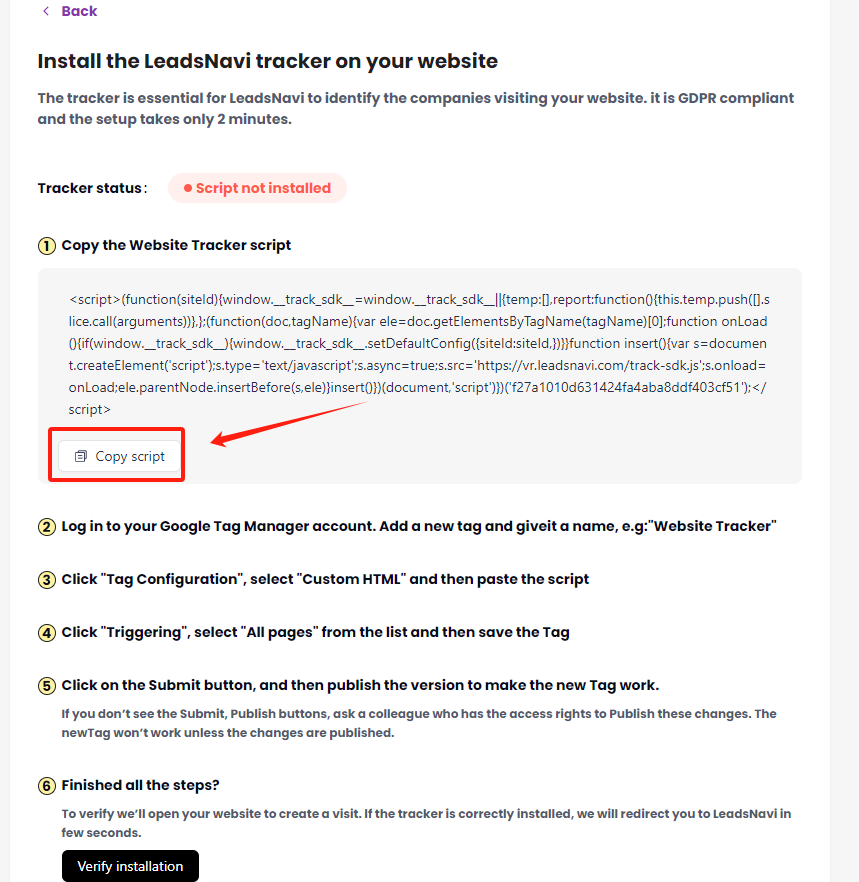
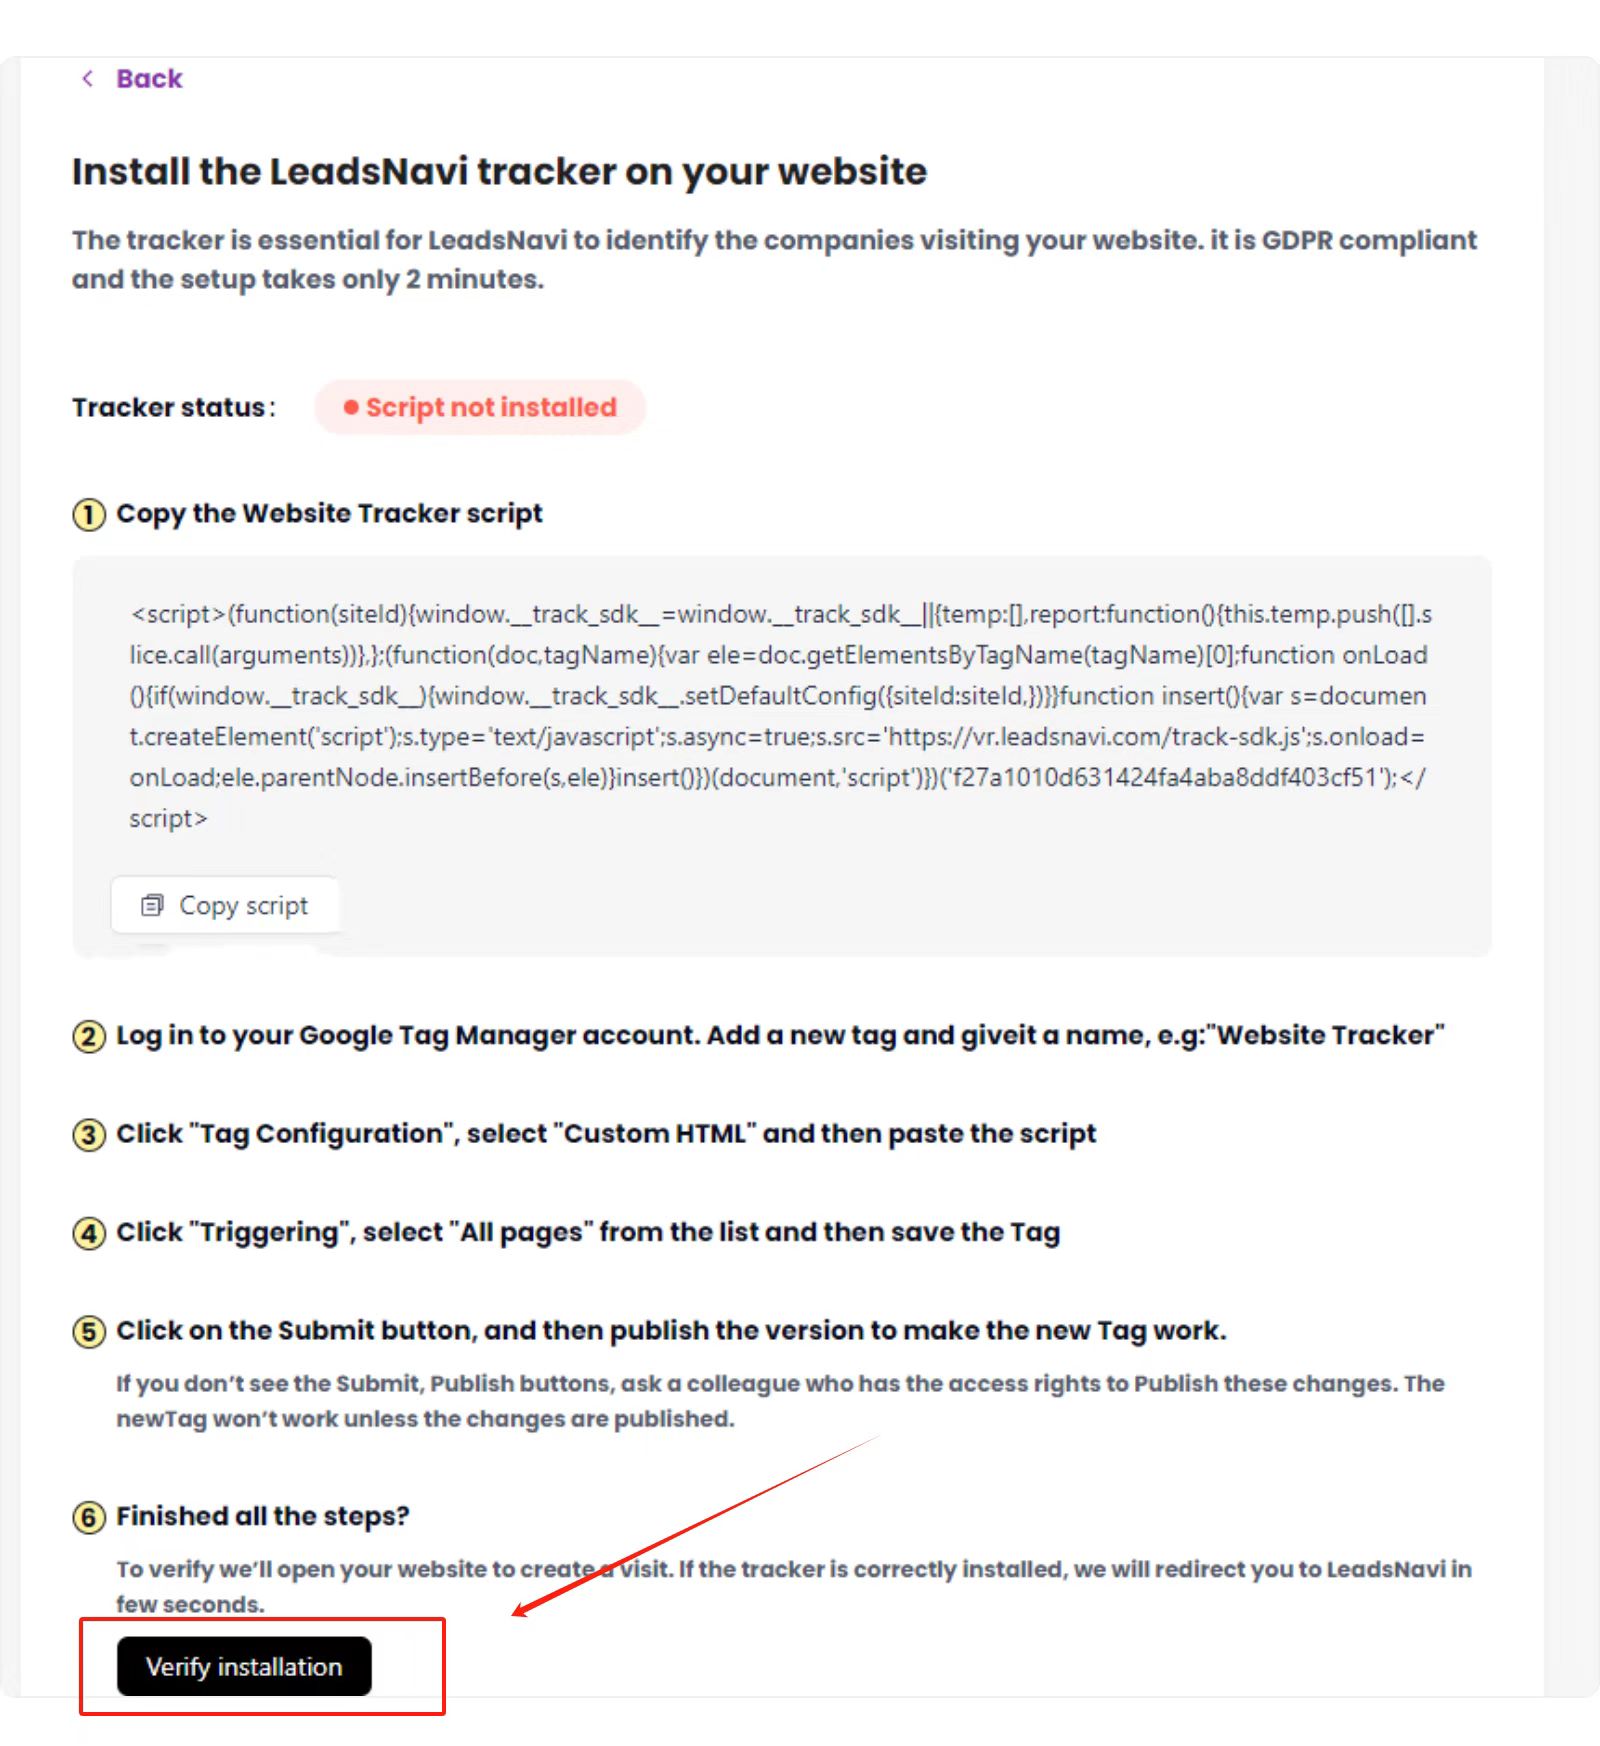
Step 1: Get Tracker Script
1. Click "Google Tag Manager".
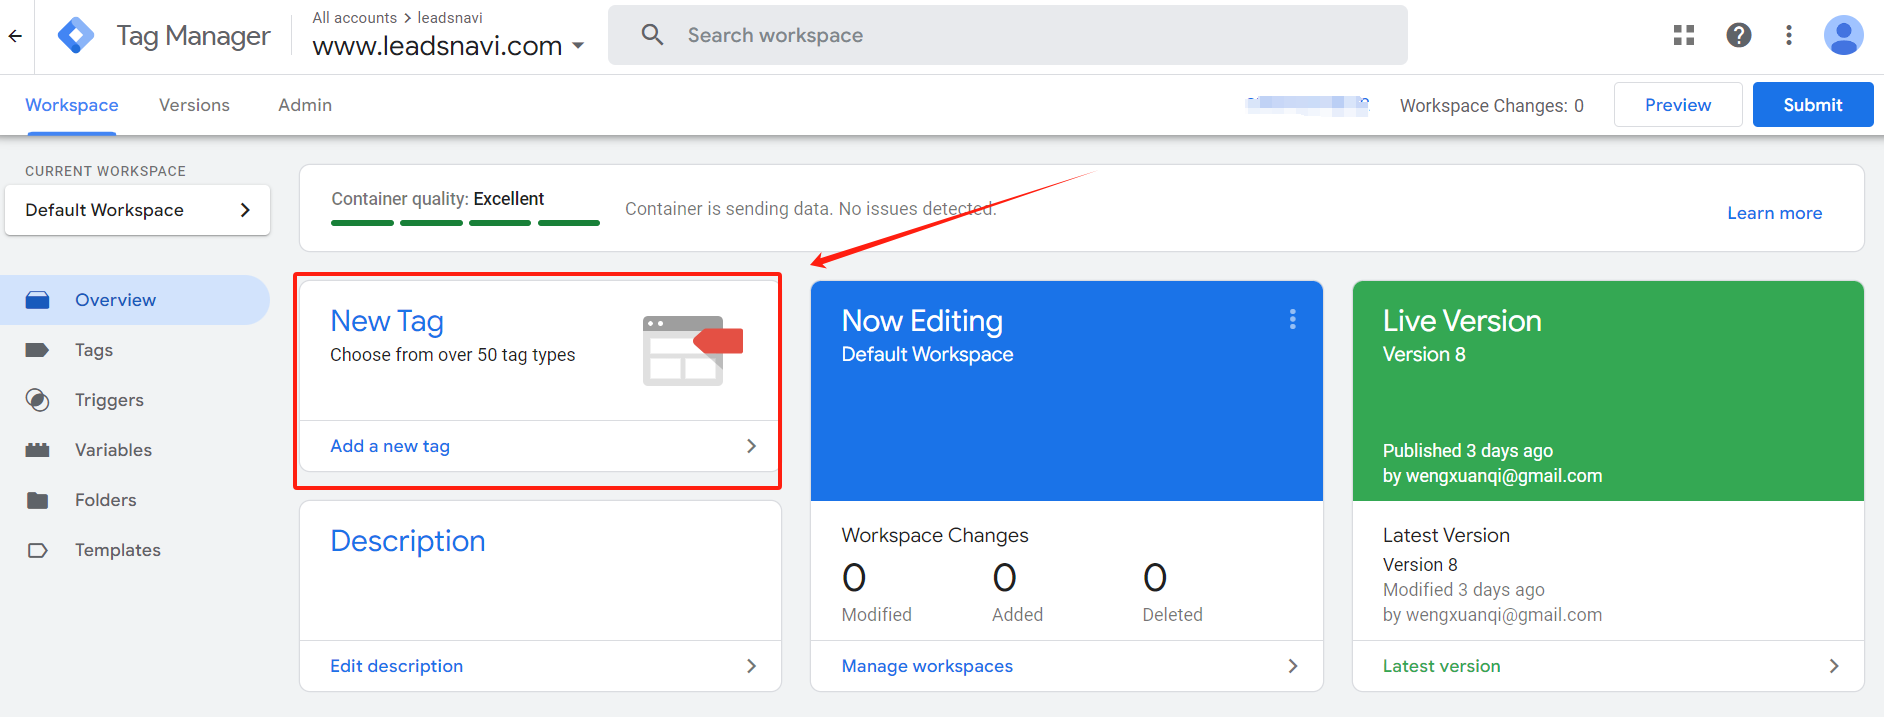
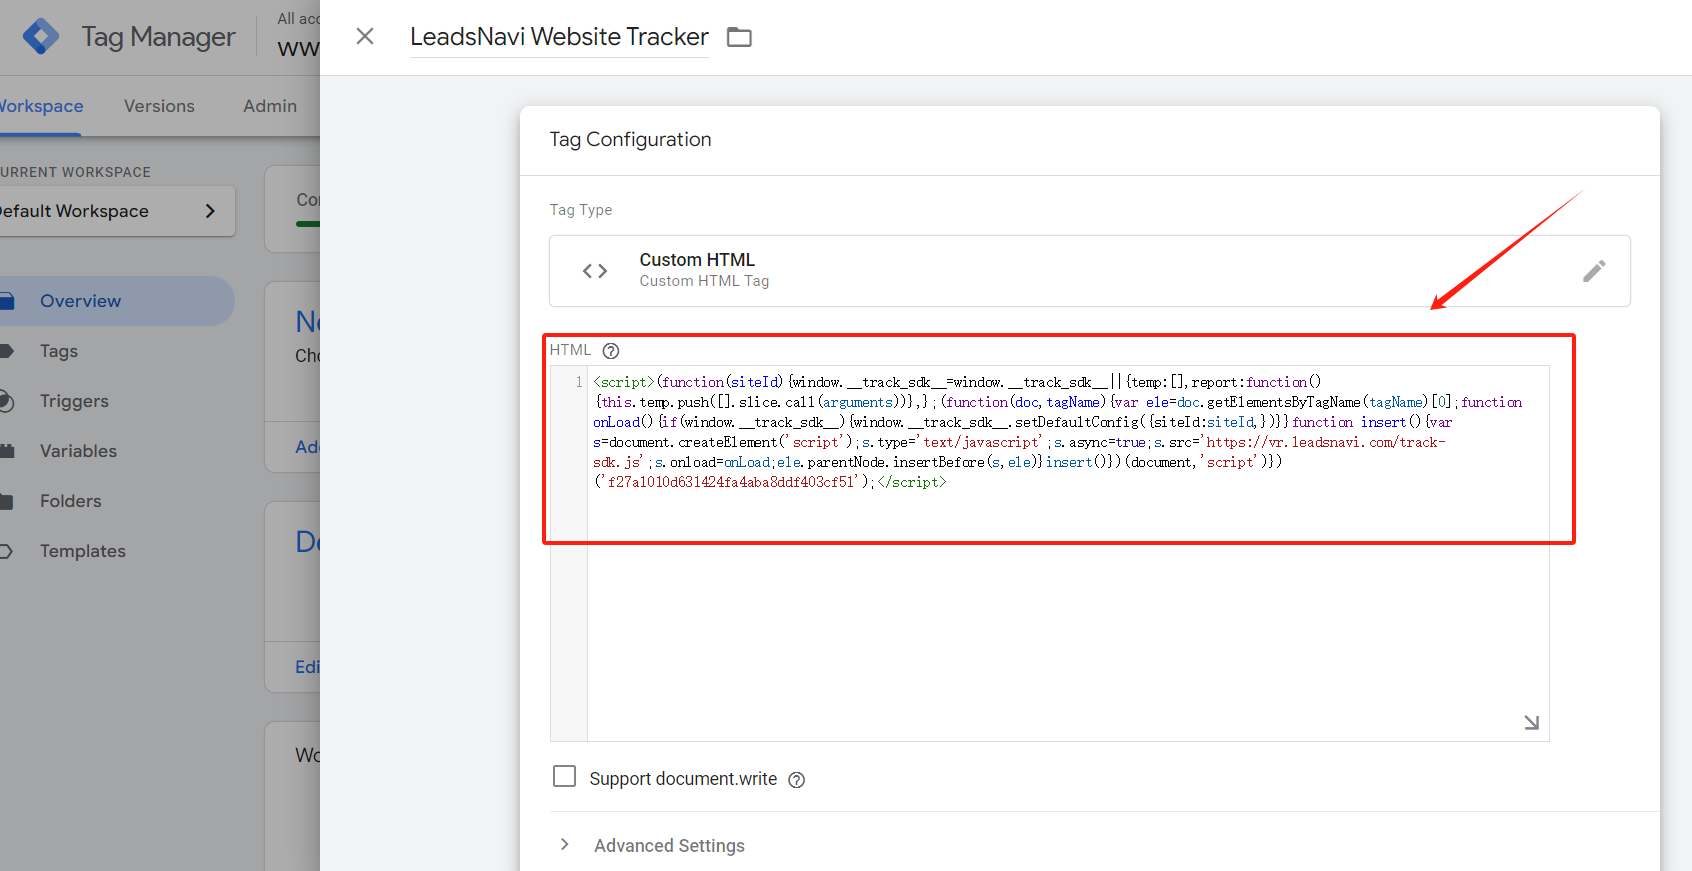
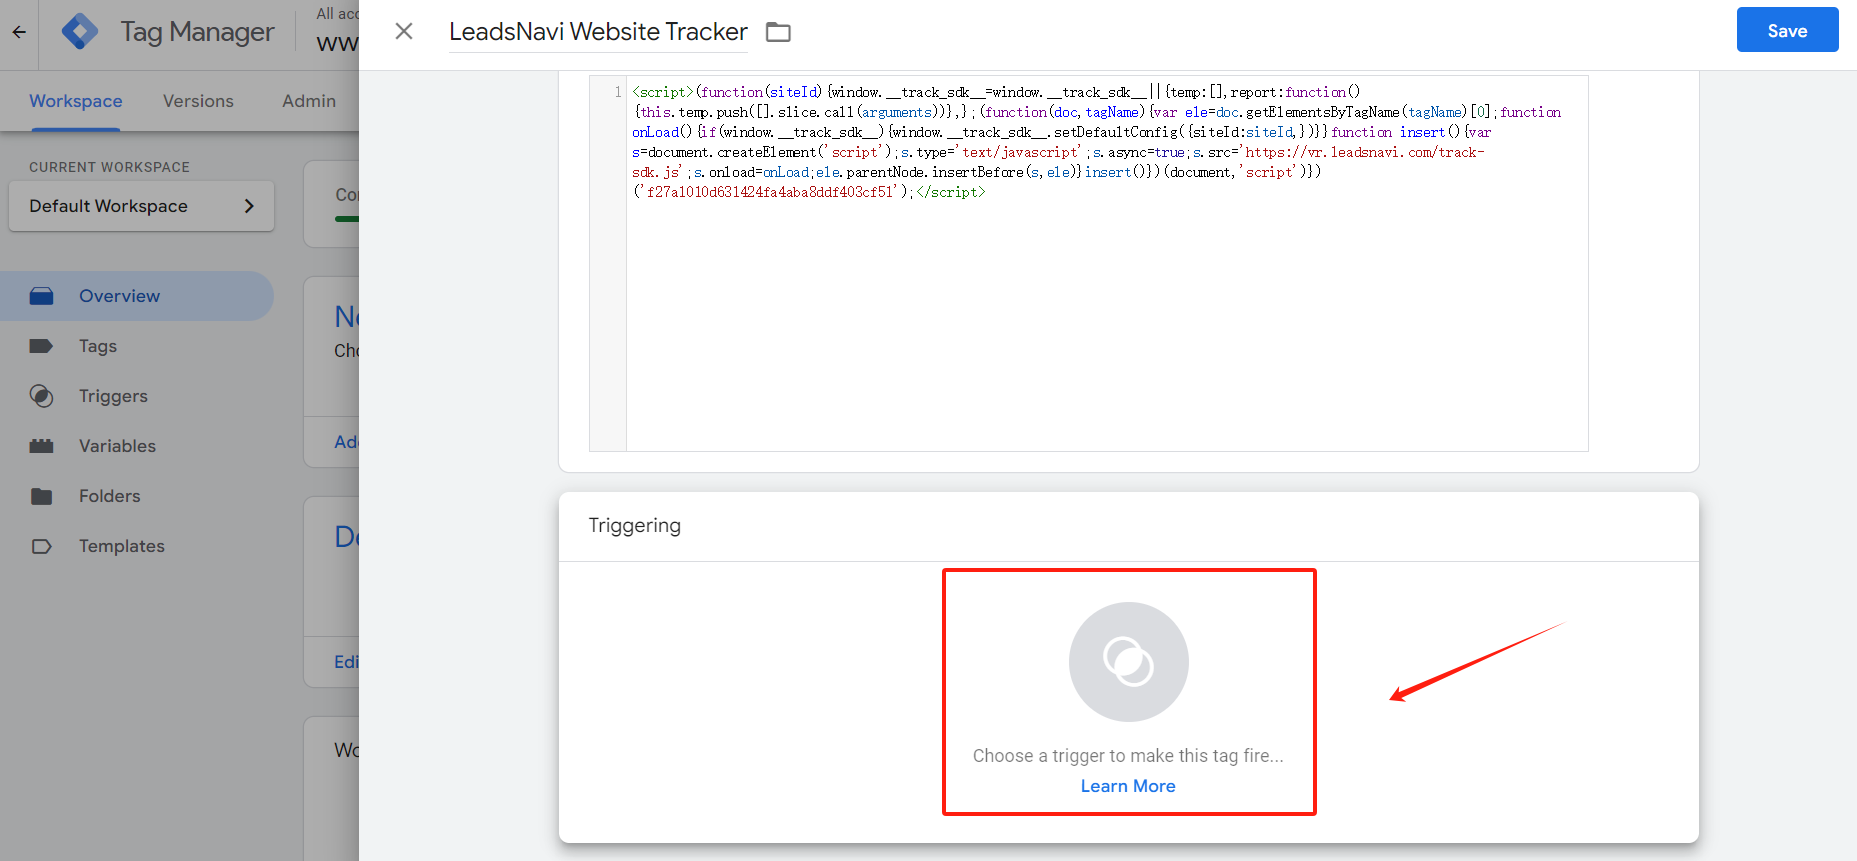
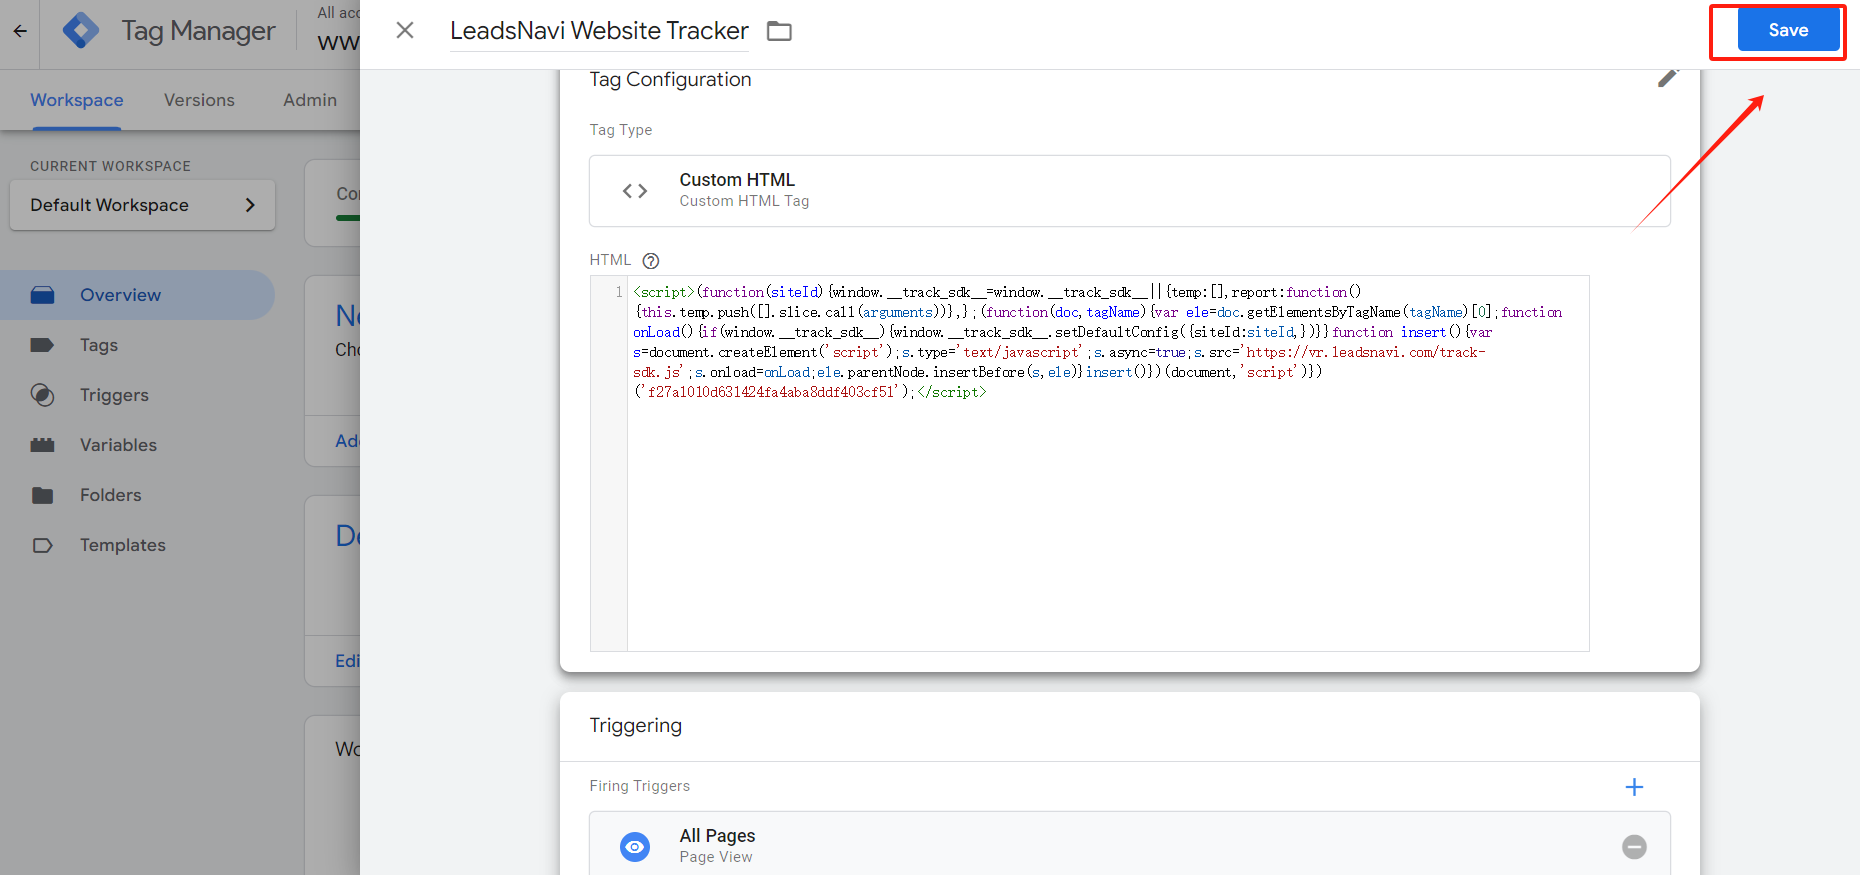
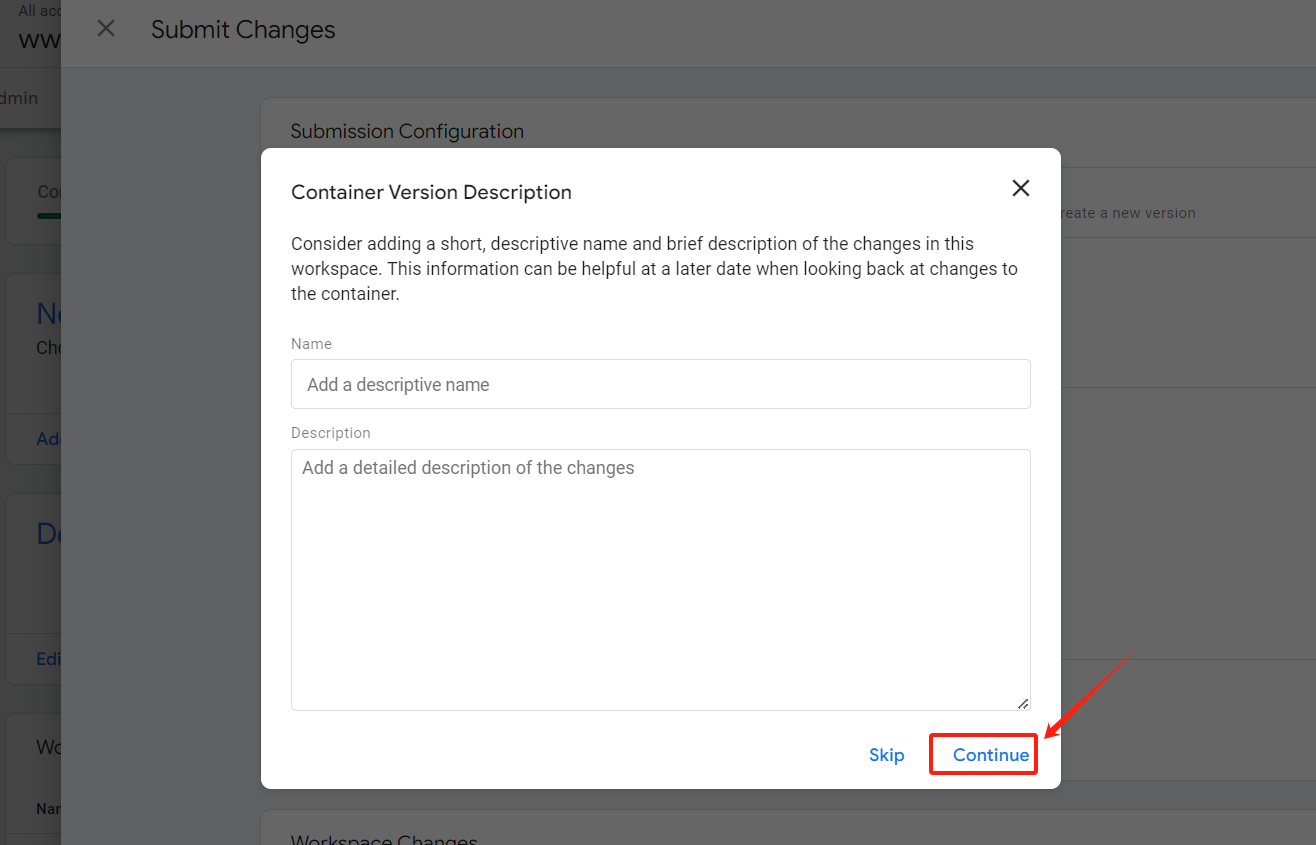
Step 2: Add a New Tag for LeadsNavi
1. Inside the Google Tag Manager dashboard, click Add a New Tag.


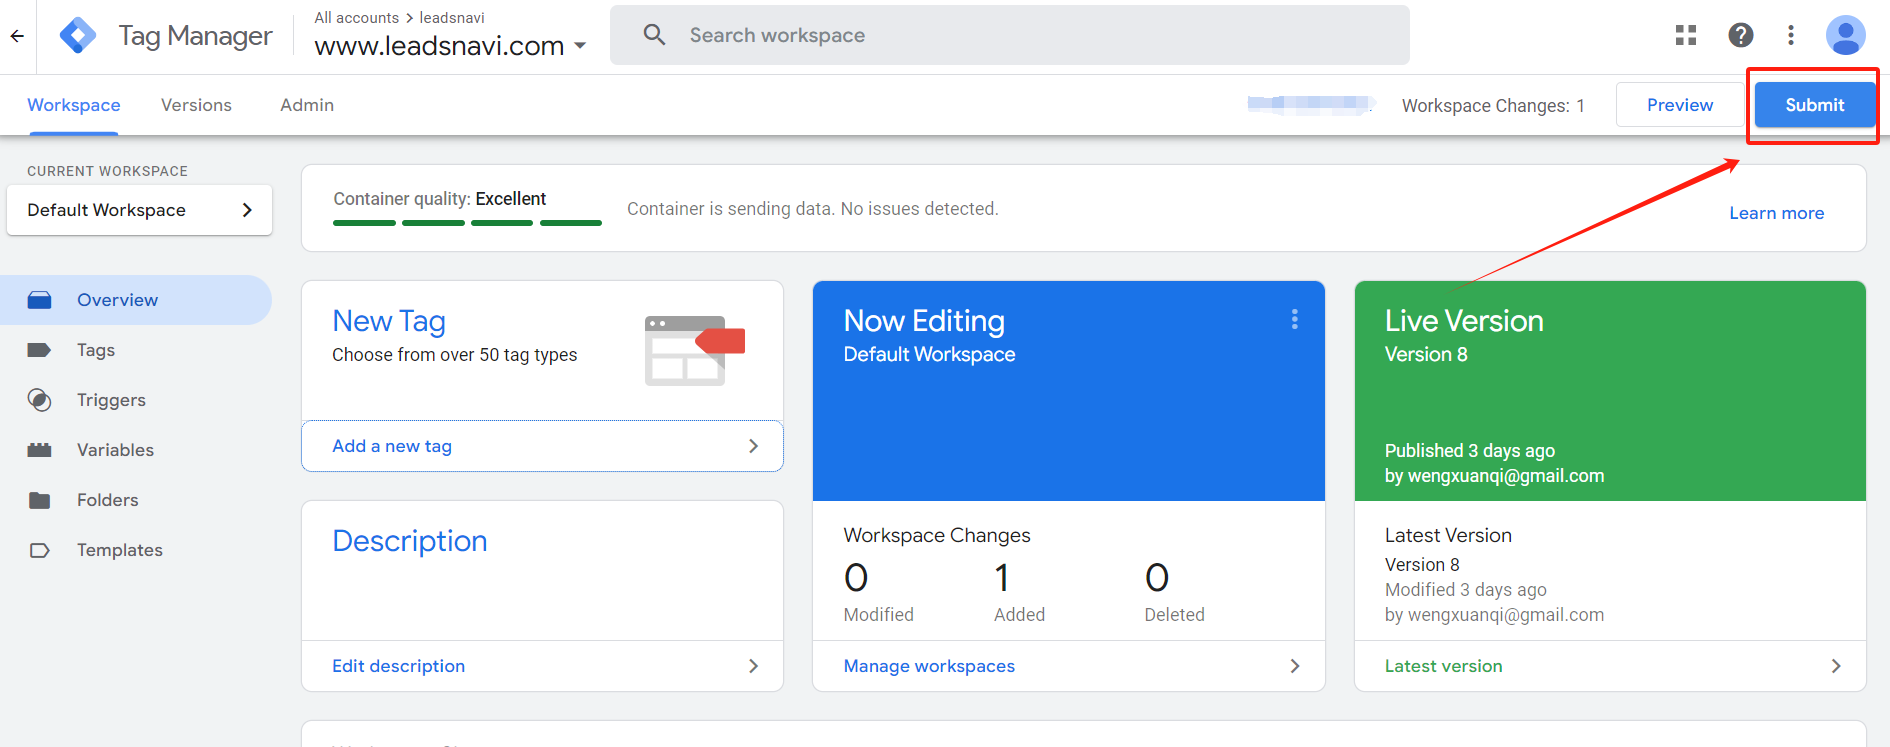
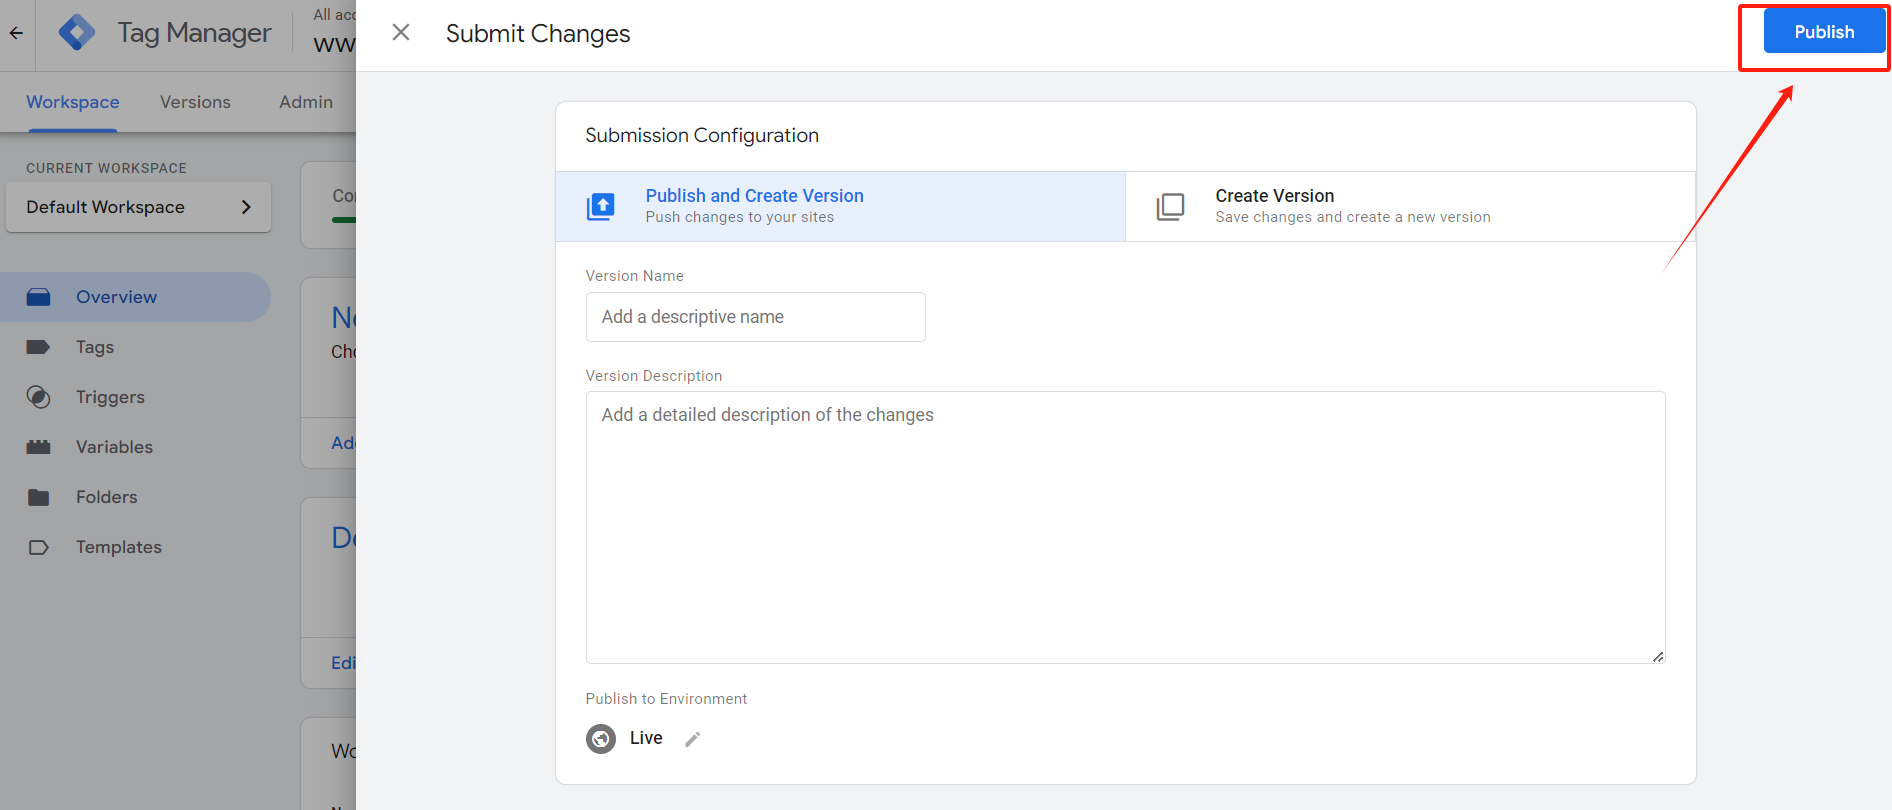
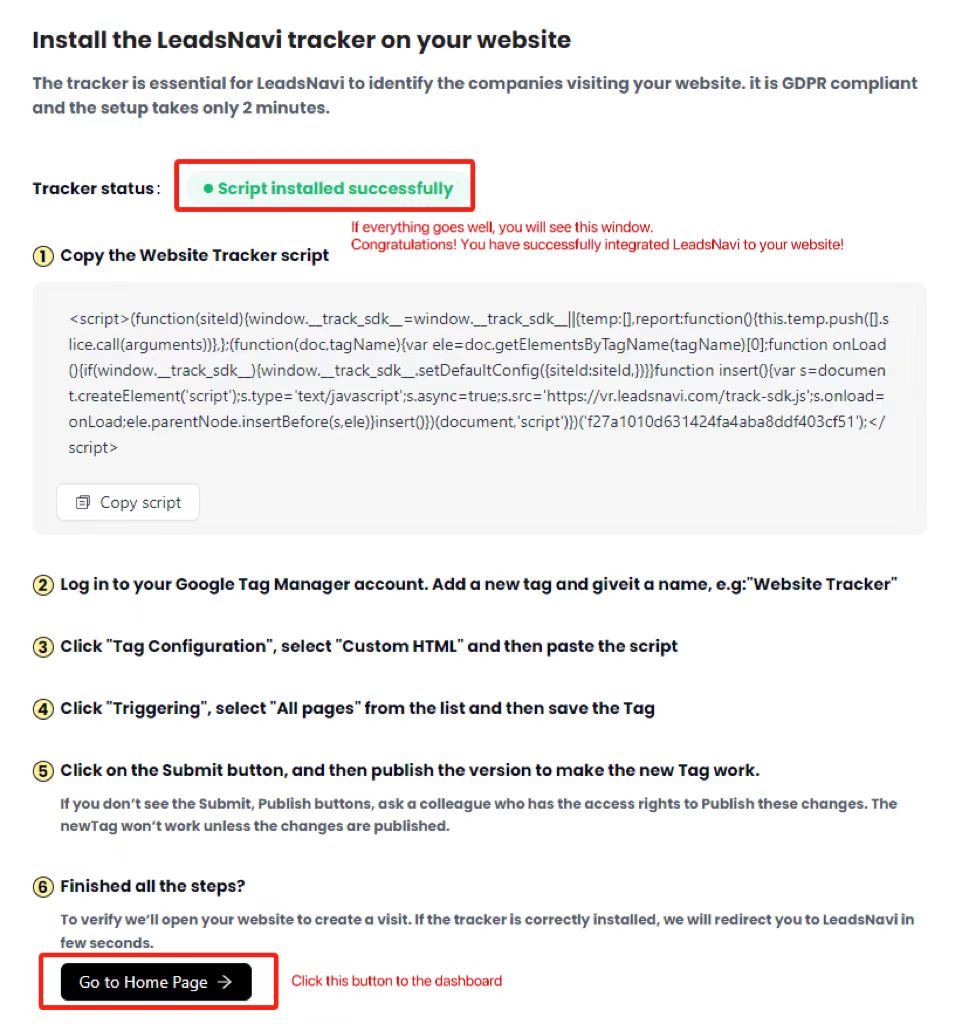
Congratulations! You have successfully integrated LeadsNavi into your website. Please check our dashboard later to see the companies visiting your website.